English
 عربى
عربى Français
 русский
 Español
 中文简体
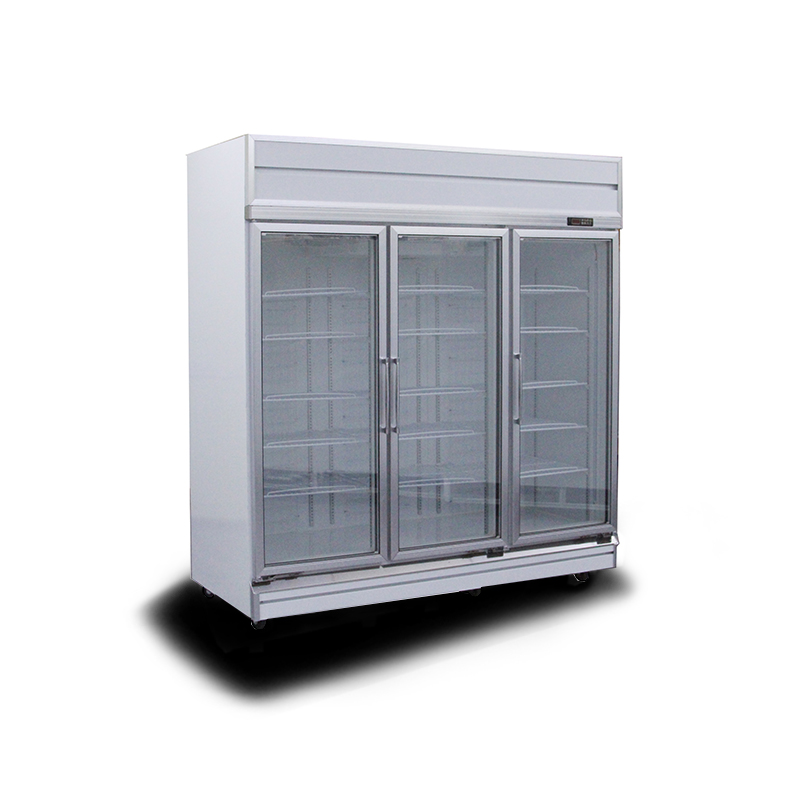
中文简体To ensure that your Glass Door Display Freezer runs efficiently, maintains hygiene, and stays in top working condition, regular maintenance and cleaning are essential. By following a systematic approach, you can extend the lifespan of your freezer and ensure that it performs optimally.
1. Unplug the Freezer
Before starting any maintenance or cleaning, it is crucial to unplug the freezer. Disconnecting the appliance from its power source ensures that there are no risks of electrical shock or malfunction while you’re working on it. If you plan to clean the freezer with water or cleaning agents, unplugging also reduces the risk of short circuits or damaging the electrical components.
Additionally, unplugging the freezer gives the appliance time to cool down or defrost if necessary. Once the freezer is off and unplugged, give it a few minutes to ensure that no electrical components are operating.
2. Remove All Products
Next, remove all products from the freezer. This includes food, drinks, and any other items stored inside. By removing everything, you prevent exposure to temperature fluctuations while cleaning, which could potentially damage your products. Furthermore, removing the items gives you full access to all parts of the freezer for thorough cleaning.
If you are cleaning your freezer because of a buildup of frost, it’s also essential to remove everything, as it will give the ice more room to melt. Additionally, transferring products to a refrigerator or another freezer temporarily will help maintain their freshness.
3. Defrost (if necessary)
Many commercial freezers, especially those that are not frost-free models, will accumulate frost or ice over time. A buildup of frost or ice can reduce the freezer’s efficiency and lead to higher energy consumption. In such cases, you will need to defrost the freezer before you begin cleaning it.
To defrost the freezer, you can:
- Turn off the power and allow the ice to melt naturally.
- Speed up the process by using a hairdryer (with caution) to melt the ice.
- Use a plastic scraper to gently remove any large chunks of ice (avoid using sharp metal tools, as they can damage the freezer).
During this process, be sure to place towels or containers beneath the freezer to catch any melting water. Make sure that all the ice has melted before proceeding with the rest of the cleaning process.
4. Clean the Interior
The interior of your glass door display freezer can accumulate dust, dirt, and spilled items, making it necessary to clean it thoroughly. Below are the steps for an efficient interior cleaning process.
4.1 Remove Shelves and Baskets
The first step is to remove shelves or storage baskets from the freezer. These parts should be cleaned separately, as they are often where spills and crumbs accumulate. Wash the shelves and baskets in warm water with mild dish soap. If there are tough stains, you can add a small amount of baking soda to the water to act as a gentle abrasive. Scrub with a non-abrasive sponge to avoid scratching the surface.
After washing, rinse the shelves with clean water to remove soap residue, then dry them thoroughly with a microfiber towel.
4.2 Clean the Interior Surfaces
Once the shelves are removed, it’s time to clean the freezer’s interior. Use a soft cloth or sponge and a mixture of warm water and a mild detergent. Avoid harsh chemicals, as these can damage the freezer’s surfaces and leave behind harmful residues.
For stubborn stains or sticky spills, you can create a paste with baking soda and water, which is safe for use on most freezer surfaces. Gently scrub the stains with the paste, then wipe them clean with a damp cloth.
4.3 Rinse and Dry
After cleaning, it’s important to rinse the interior thoroughly with clean water to remove any leftover cleaning solution or residue. Follow this by drying all interior surfaces with a microfiber cloth or a towel. This will help prevent the growth of mold and mildew and ensure that the interior is completely dry before you place products back inside.
5. Clean the Glass Doors
Cleaning the glass doors of the freezer is crucial to maintain visibility and enhance the freezer’s overall appearance. The glass is the first thing customers or staff will see, so it’s important to keep it clear and free of streaks.
5.1 Use a Non-Ammonia Glass Cleaner
Spray a non-ammonia glass cleaner onto the glass doors. Ammonia-based cleaners can leave harmful residues or odors and may damage the seals around the door. Wipe the glass gently with a soft microfiber cloth or paper towel. Ensure that you don’t leave any streaks, which can make the freezer appear dirty.
5.2 Clean the Edges and Seals
While cleaning the glass, don’t forget to clean the edges and seals around the doors. Over time, dust and dirt can accumulate in these areas, affecting the door’s airtight seal and the freezer’s energy efficiency. You can use a soft brush or a damp cloth to clean the edges. Be gentle, especially around the rubber gaskets, to avoid damaging the seals.
6. Clean the Condenser Coils
The condenser coils are an essential part of the freezer’s cooling system. If these coils are covered in dust and dirt, it can cause the freezer to work harder, resulting in increased energy consumption and potential malfunctions. Cleaning the condenser coils regularly is critical for optimal performance.
6.1 How to Clean
Use a vacuum cleaner with a brush attachment or a coil cleaning brush to gently remove dust, dirt, and debris from the coils. Be sure to reach the entire length of the coils, especially if they are located at the back or beneath the freezer. Avoid using sharp tools or excessive force, as this could damage the coils.
6.2 Cleaning Frequency
It’s advisable to clean the condenser coils at least every 3 to 6 months, depending on the environment. If your freezer is placed in a dusty area or near a busy kitchen, you might need to clean the coils more frequently. Cleaning the coils is an easy task that can greatly enhance the energy efficiency of your freezer.
7. Check the Door Seals
The door seals (gaskets) are responsible for keeping cold air inside the freezer. If the seals are damaged or dirty, the freezer will have to work harder to maintain its internal temperature, which can lead to higher energy bills.
7.1 Clean the Seals
Wipe the seals with a damp cloth and a mild detergent to remove dirt, debris, and stains. Avoid using abrasive materials, as these can damage the seals.
7.2 Check for Damage
Inspect the seals for any signs of cracks, tears, or warping. If the seals are damaged, they should be replaced to maintain the freezer’s efficiency.
8. Clean the Drain Pan (if applicable)
Some glass door display freezers have a drain pan that collects water from condensation or defrosting. If your freezer has one, it’s important to clean it regularly to prevent mold, mildew, or unpleasant odors from developing.
8.1 How to Clean the Drain Pan
- Empty the pan and wipe it down with a soft cloth.
- If you notice any buildup, clean the pan with warm water and a mild detergent.
- Ensure the pan is dry before placing it back under the freezer.
9. Reassemble and Plug In
Once everything has been cleaned and dried, reassemble the shelves, baskets, and any other removable parts. Check that everything is securely in place before you plug the freezer back in. Once it’s plugged back in, allow the freezer to cool to the desired temperature before restocking it with your products.
10. Regular Maintenance
To keep your Glass Door Display Freezer in top condition, follow a regular maintenance schedule:
10.1 Weekly
- Wipe down the glass doors to remove any fingerprints or smudges.
- Check the interior for spills or leaks.
10.2 Monthly
- Clean the interior and shelves thoroughly.
- Inspect the door seals and gaskets for wear and tear.
10.3 Every 3-6 Months
- Clean the condenser coils.
- Defrost and clean the drain pan if necessary.