English
 عربى
عربى Français
 русский
 Español
 中文简体
中文简体Installing an under-counter wine chiller can be a bit of a process, but with some planning and the right tools, it can be done. Here are the general steps to follow when installing an under-counter wine chiller:
Measure the space where you plan to install the wine chiller. Make sure that the unit will fit in the space and that you have enough clearance for proper ventilation.
Make sure that you have all the necessary tools, including a drill, a hole saw, a level, and a screwdriver.
Mark the location of the wine chiller on the cabinet or countertop using a pencil. Make sure that the location is level.
Use a hole saw to cut a hole in the cabinet or countertop for the wine chiller. Make sure that the hole is the right size for the unit.
Place the wine chiller in the hole and make sure that it is level.
Secure the wine chiller to the cabinet or countertop using screws.
Connect the power cord and any other necessary connections, such as water lines, to the wine chiller.
Turn on the wine chiller and set the temperature to the desired level. Allow the unit to cool for 24 hours before placing wine bottles in it.
It's important to read the manufacturer's instructions for your specific wine chiller, as the instructions may vary depending on the model and brand. It's also a good idea to get a professional to help you if you are not sure about any step.
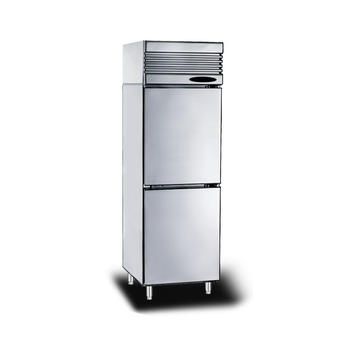
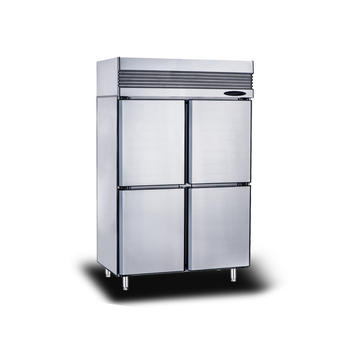
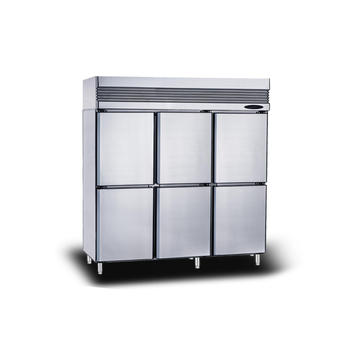
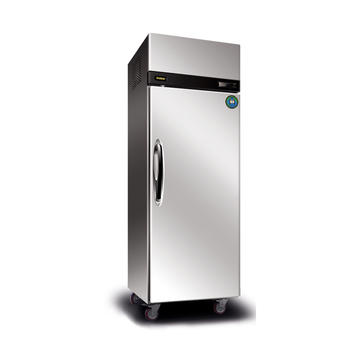
Heated Glass 2 Door 3 Door Under Counter Chiller And Freezer

Heated Glass 2 Door 3 Door Under Counter Chiller And Freezer